


BREW GUIDE
Brew Guide to Better Coffee
V60 Pour Over
Drip Coffee

Chemex

Cold Brew

Aeropress

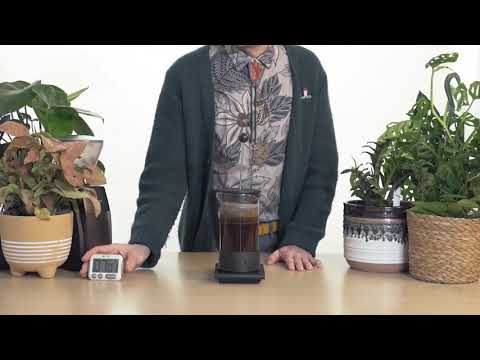
French Press
Espresso

Steaming Milk
